Physical Address
304 North Cardinal St.
Dorchester Center, MA 02124
There is nothing quite like the feeling of unboxing a fresh machine. The screen is pristine, the keyboard is clicky, and it smells like… well, factory plastic. But wait! Before you start downloading Chrome or logging into Netflix, stop right there.
So, you just bought a new laptop. You might think it is ready to use straight out of the box, but the reality is different. Manufacturers load these machines with unnecessary software, outdated drivers, and settings that drain your battery.
If you are wondering what is the first thing to do on the new laptop to ensure it stays fast for years, you have come to the right place. We have compiled the ultimate “Day One” checklist to turn your sluggish factory machine into a speed demon.
Wait, haven’t bought your laptop yet? Stop right there! Don’t spend a dime until you are sure you’re getting a machine that won’t be obsolete in a year. Check out our 2026 Laptop Buying Checklist to make sure you pick the perfect specs before coming back here to set it up
Manufacturers like HP, Dell, and Lenovo get paid to pre-install software on your device. We call this “Bloatware,” and it is the number one reason your new computer feels slower than it should.
The absolute first thing to do on the new laptop is to purge this junk.
The Antivirus Trial: Unless you paid for it, remove McAfee or Norton immediately. They are heavy resource hogs. Windows Defender (built-in) is sufficient for 99% of users in 2026.
Manufacturer Apps: Do you really need “HP JumpStart” or “Dell Digital Delivery”? Probably not. Uninstall them.
Candy Crush & Solitaire: Yes, Windows 11 still tries to sneak these in. Right-click and hit Uninstall.
⚠️ Warning: Don’t Delete Drivers Be careful not to uninstall anything that says “Driver,” “Realtek,” “Intel,” or “AMD.” If you are unsure what a program does, Google the name before clicking Uninstall. Action Step: For a deeper clean, download a free tool called “Bulk Crap Uninstaller” (BCUninstaller). It identifies “leftover files” that standard Windows uninstallers miss.
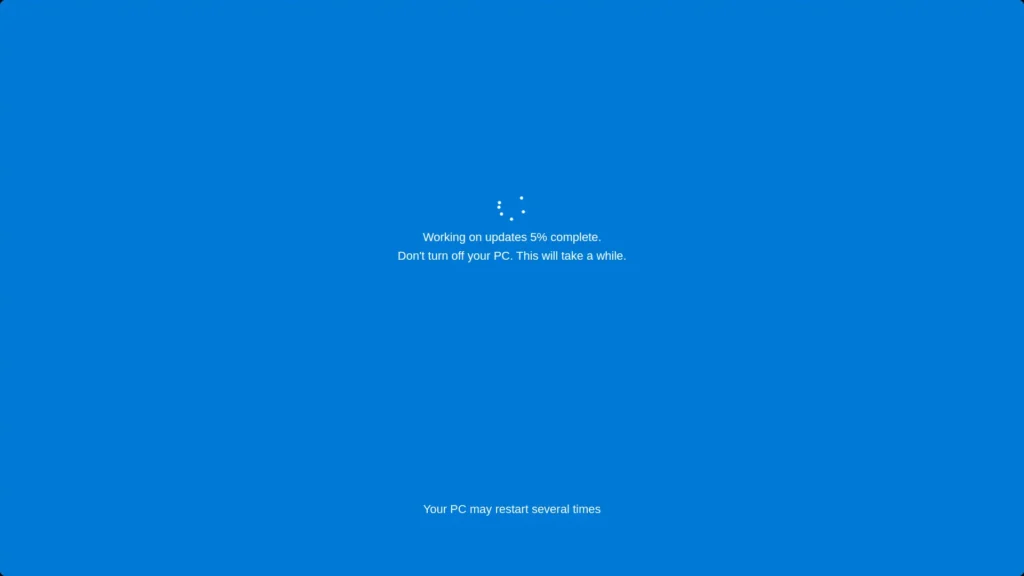
I know, it’s boring. You just bought a new laptop, and the last thing you want to do is stare at a loading bar. But this is critical. The laptop has likely been sitting in a warehouse for months, meaning its security patches and drivers are dangerously out of date.
Windows Update: Run this repeatedly until it says “You’re up to date.”
GPU Drivers: If you have a gaming laptop (NVIDIA/AMD), download the latest drivers directly from their website, not just Windows Update.
NPU Drivers: For 2026 AI PCs, ensure your NPU (Neural Processing Unit) driver is current to enable features like Windows Studio Effects.
Pro Tip: Check “Optional Updates” Windows 11 hides specific hardware drivers.
Go to Settings > Windows Update.
Click Advanced Options > Optional Updates.
If you see drivers listed here (especially for Bluetooth or Audio), install them. This fixes 90% of “my new laptop has buggy sound” issues.
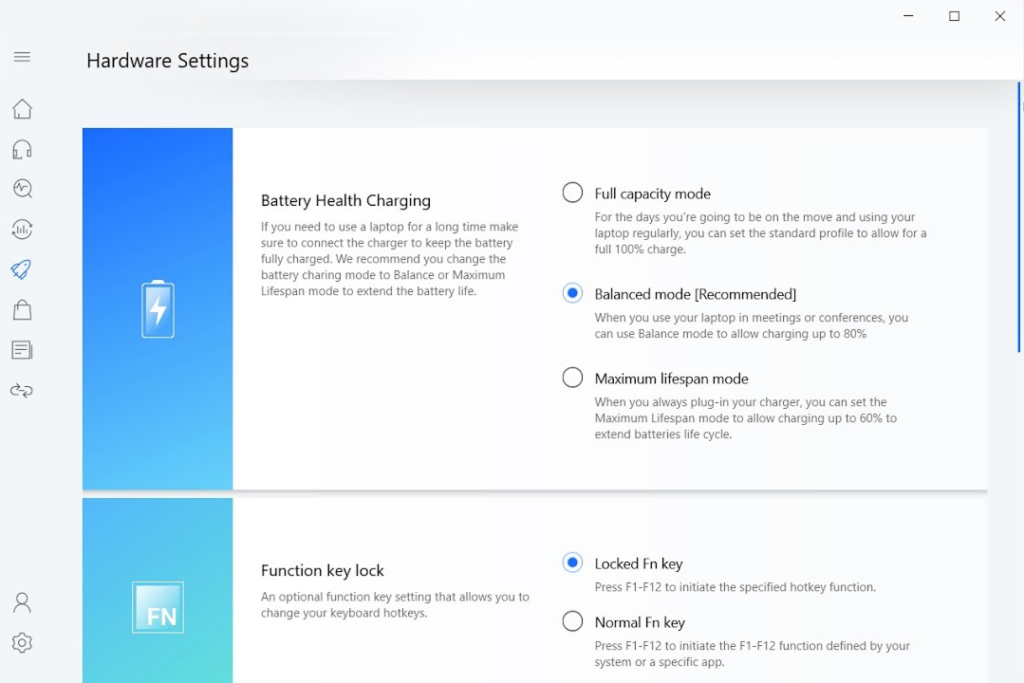
If you plan to use your laptop mostly plugged in at a desk, this step will double your battery’s lifespan. Lithium-ion batteries hate being at 100% all the time.
Many modern laptops have a “Smart Charging” or “Battery Care” mode that caps the charge at 80%.
For ASUS: Check the MyASUS app.
For Lenovo: Check Lenovo Vantage.
For Dell: Check Dell Power Manager.
Making this switch is a crucial first thing to do on the new laptop if you want to avoid replacing the battery in two years.
Instruction: Can’t find the app? If your laptop came with a “clean install” and has no manufacturer apps, you might need to check the BIOS.
Restart your laptop and spam the F2 or Del key.
Look for a “Power Management” or “Configuration” tab.
Find “Primary Battery Charge Configuration” and set it to “Custom” or “AC Use”.

If you just bought a new laptop, you probably dread the process of visiting ten different websites to download Chrome, Zoom, Spotify, Discord, and VLC.
Stop doing that. Use Ninite.com.
Go to the site.
Check the boxes for all the free apps you want.
Download one installer.
Run it, and go grab a coffee. Ninite installs everything in the background, automatically rejects “toolbar offers,” and puts them in the right place. It is a lifesaver.
The “Updater” Hack Do not delete the Ninite installer file after you use it! Save it to your desktop. Once a month, double-click that same installer file. It will automatically check all your apps and update them to the latest version in the background. No more annoying “Update Available” pop-ups.

Out of the box, your laptop’s settings are optimized for the manufacturer’s benefit, not yours. Let’s fix that.
Display Scaling: If icons look too big or too small, go to Settings > System > Display and adjust the “Scale.” 125% or 150% is usually the sweet spot for 14-inch screens.
Privacy Settings: Windows loves to track you for ads. Search for “Privacy Settings” and turn off “Let apps use advertising ID.”
Refresh Rate: Ensure you are actually getting what you paid for. Go to Advanced Display Settings and make sure your 120Hz or 144Hz screen isn’t stuck running at 60Hz.
Quick Setup: Enable “Dark Mode” If your new laptop has an OLED screen (common in 2026 models), switch to Dark Mode immediately (Settings > Personalization > Colors > Choose your mode > Dark).
Why? On OLED screens, black pixels are turned off. This saves significant battery life and looks much cooler.
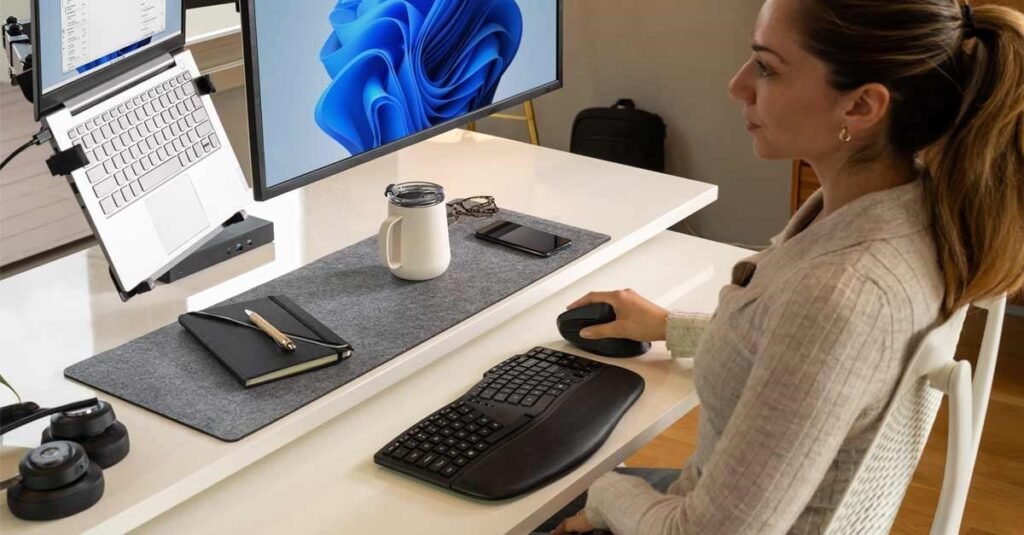
Now that your software is clean, let’s talk about your physical health. Using a laptop flat on a desk forces you to look down at a 45-degree angle, which puts about 60 lbs of pressure on your spine. This is a recipe for chronic “Tech Neck.”
Level 1: The Basic Fix (Under $50)
At the very least, grab a Laptop Stand and an external mouse. This raises the screen to eye level, instantly fixing your posture and improving airflow to keep your new machine cool.
Level 2: The Ultimate Upgrade (The Standing Desk)
If you want to unlock peak productivity, consider swapping your static desk for a Motorized Standing Desk.
Why? Research shows that alternating between sitting and standing can reduce upper back and neck pain by up to 54%. It also keeps your energy levels stable, preventing that dreaded 3 PM slump.
The Strategy: You don’t need to stand all day. Just 15 minutes every hour is enough to reset your circulation and burn more calories than sitting. It is the single best investment for your long-term health.
The “Eye-Level” Rule The top of your laptop screen should be at or slightly below eye level. If you don’t have a laptop stand yet, use a stack of books. Your neck shouldn’t be bent down more than 15 degrees. If you are looking down at your lap, you are damaging your spine.
Congratulations! You have successfully set up your machine.
Because you just bought a new laptop, you deserve a device that runs at peak performance, not one bogged down by junk. By following this checklist, you have cleared the clutter, secured your system, and future-proofed your battery.
Remember, the first thing to do on the new laptop isn’t to start working—it’s to prepare the tool so the work feels effortless. Enjoy your new tech!